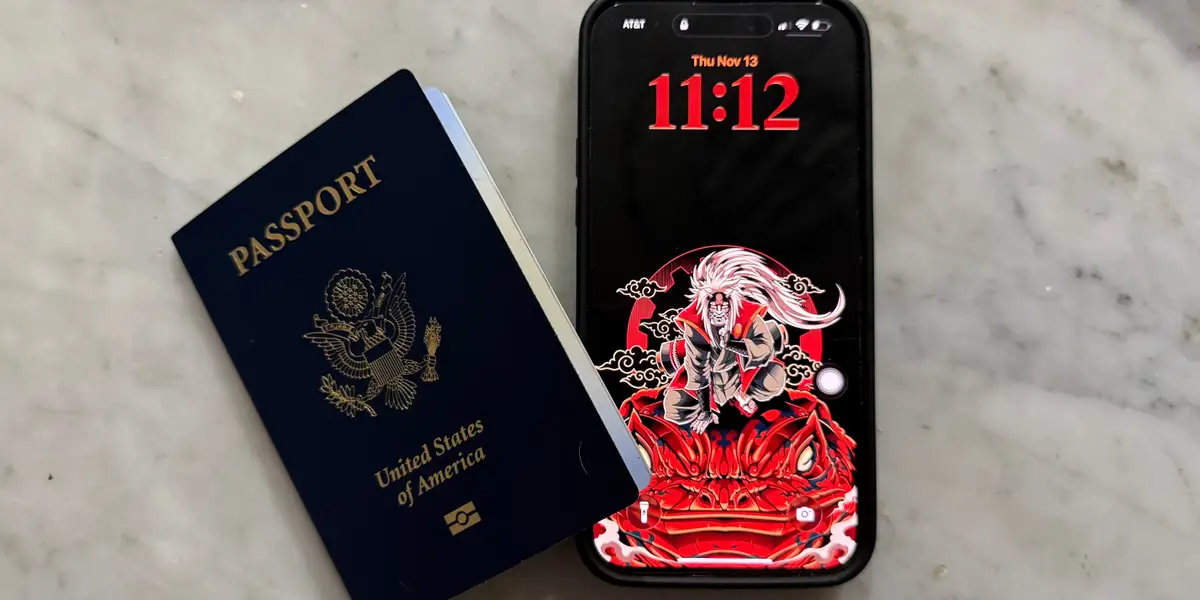
Apple has introduced a game-changing feature that could make traveling through US airports far more convenient. With the rollout of Digital ID in iOS 26, iPhone and Apple Watch users can now store a virtual version of their US passport directly inside Apple Wallet. While this digital passport can’t replace your physical one for international travel, it offers a seamless and secure way to verify identity at over 250 TSA checkpoints across the United States.
A New Addition to Apple Wallet
Apple Wallet has long been home to debit cards, loyalty cards, boarding passes, and transit cards. Now, the tech giant is expanding the list by allowing users to add government-issued IDs—including passports. This aligns with Apple’s ongoing effort to turn the iPhone into an all-in-one digital identity hub.
Jennifer Bailey, Apple’s VP of Apple Pay and Wallet, highlighted that Digital ID is built with user privacy and security at its core, reinforcing Apple’s commitment to safe digital identity solutions.
What You Can (and Can’t) Do With Digital ID
Digital ID marks a major shift in how Americans can present identification on the go. Here’s what the feature enables:
Use a digital passport at TSA checkpoints in more than 250 US airports
Store your passport, ID, and boarding pass together in Apple Wallet
Book select hotels and flights that support digital verification
Offer an alternative for users who don’t have a Real ID-compliant license
However, Apple is clear about one major limitation: Digital ID cannot be used for international travel or to cross borders. A physical passport remains mandatory for these situations.
How to Set Up Your Digital Passport in Apple Wallet
Setting up Digital ID is straightforward, but you’ll need your physical passport with you. Below is a step-by-step guide to help you get started.
Step 1: Open Apple Wallet and Choose Digital ID
Begin by launching the Apple Wallet app on your iPhone. Navigate to the section labeled Driver’s License and ID. This is where Digital ID lives alongside other verified government documents.
Before you begin the setup process, make sure your physical US passport is nearby—you’ll need it for scanning and verification.
Step 2: Review What Digital ID Can Do
Once you select Digital ID, Apple will provide a brief overview of the feature—what it stores, where you can use it, and how your personal data is protected. After reviewing the information, confirm that you want to proceed.
Step 3: Scan Your Passport’s Photo Page
When prompted, open your passport to the photo page. Use your phone’s rear camera to scan it. Apple Wallet uses this information to verify your identity and read the secure chip embedded inside your passport.
Step 4: Locate the Barcode and Scan the Embedded Chip
Turn to the back of your passport booklet to find the barcode. If you’re unsure what to look for, Apple provides an on-screen image to guide you. Hold your iPhone over the barcode so it can access the encrypted chip containing your biometric information.
Step 5: Complete Facial Verification With Selfies
To ensure that the passport belongs to you, Apple will ask for a series of selfie scans using your iPhone’s front camera.
Expect to:
Capture a clear still photo
Tilt your head in different directions
Close your eyes briefly
Smile when prompted
These movements allow the system to confirm your identity from multiple angles, strengthening security.
Step 6: Wait for Verification to Complete
After submitting your scans, Apple will process the data. This usually takes a minute or two. You’ll receive a push notification once your Digital ID is fully set up and ready for use.
With your new Digital ID, navigating airport TSA checkpoints becomes faster and more convenient—no fumbling for your passport or ID at the bottom of your bag.
Final Thoughts
Apple’s Digital ID is a major leap toward a future where physical documents become optional. While your real passport is still essential for international trips, this virtual version makes domestic travel far smoother. With just your iPhone or Apple Watch, you can now move through TSA checkpoints and manage travel essentials from a single place.
For more articles like this visit Trenzest.